
Glossary
Not sure what bleed, crop marks or CMYK mean?
Our glossary explains common print terms and setup tips to help you prepare your artwork with confidence.
Glossary of Common Print Terms
-
Cyan, Magenta, Yellow, Black. The colour model used in professional printing.
Unlike RGB (which means Red, Green, Blue and is for monitors), CMYK ensures your colours print accurately and consistently.
-
A universal colour matching system. If colour accuracy is critical (e.g., brand colours), Pantone ensures what you see is what you get. More common in specialist or litho printing.
-
A type of image made from paths rather than pixels (e.g., .AI, .EPS, .SVG). Vectors can be scaled infinitely without losing quality, making them perfect for logos and line graphics.
-
A pixel-based image (e.g., JPG, PNG, TIFF). These work well for photos but can lose clarity when resized, especially if enlarged.
-
A protective plastic coating applied to printed items. It adds durability and a finish (e.g., gloss for shine, matt for a modern look, soft-touch for a premium feel), helping your prints last longer and feel more professional.
-
A common booklet binding method where folded sheets are stapled through the spine. It's cost-effective and ideal for small brochures or programmes.
-
A method where pages are glued into a squared-off spine, like a paperback book. It looks sleek but is more suited to thicker documents.
-
A custom shape cut from your print. Great for shaped flyers, packaging, or anything that is a different shape from the standard rectangle.
-
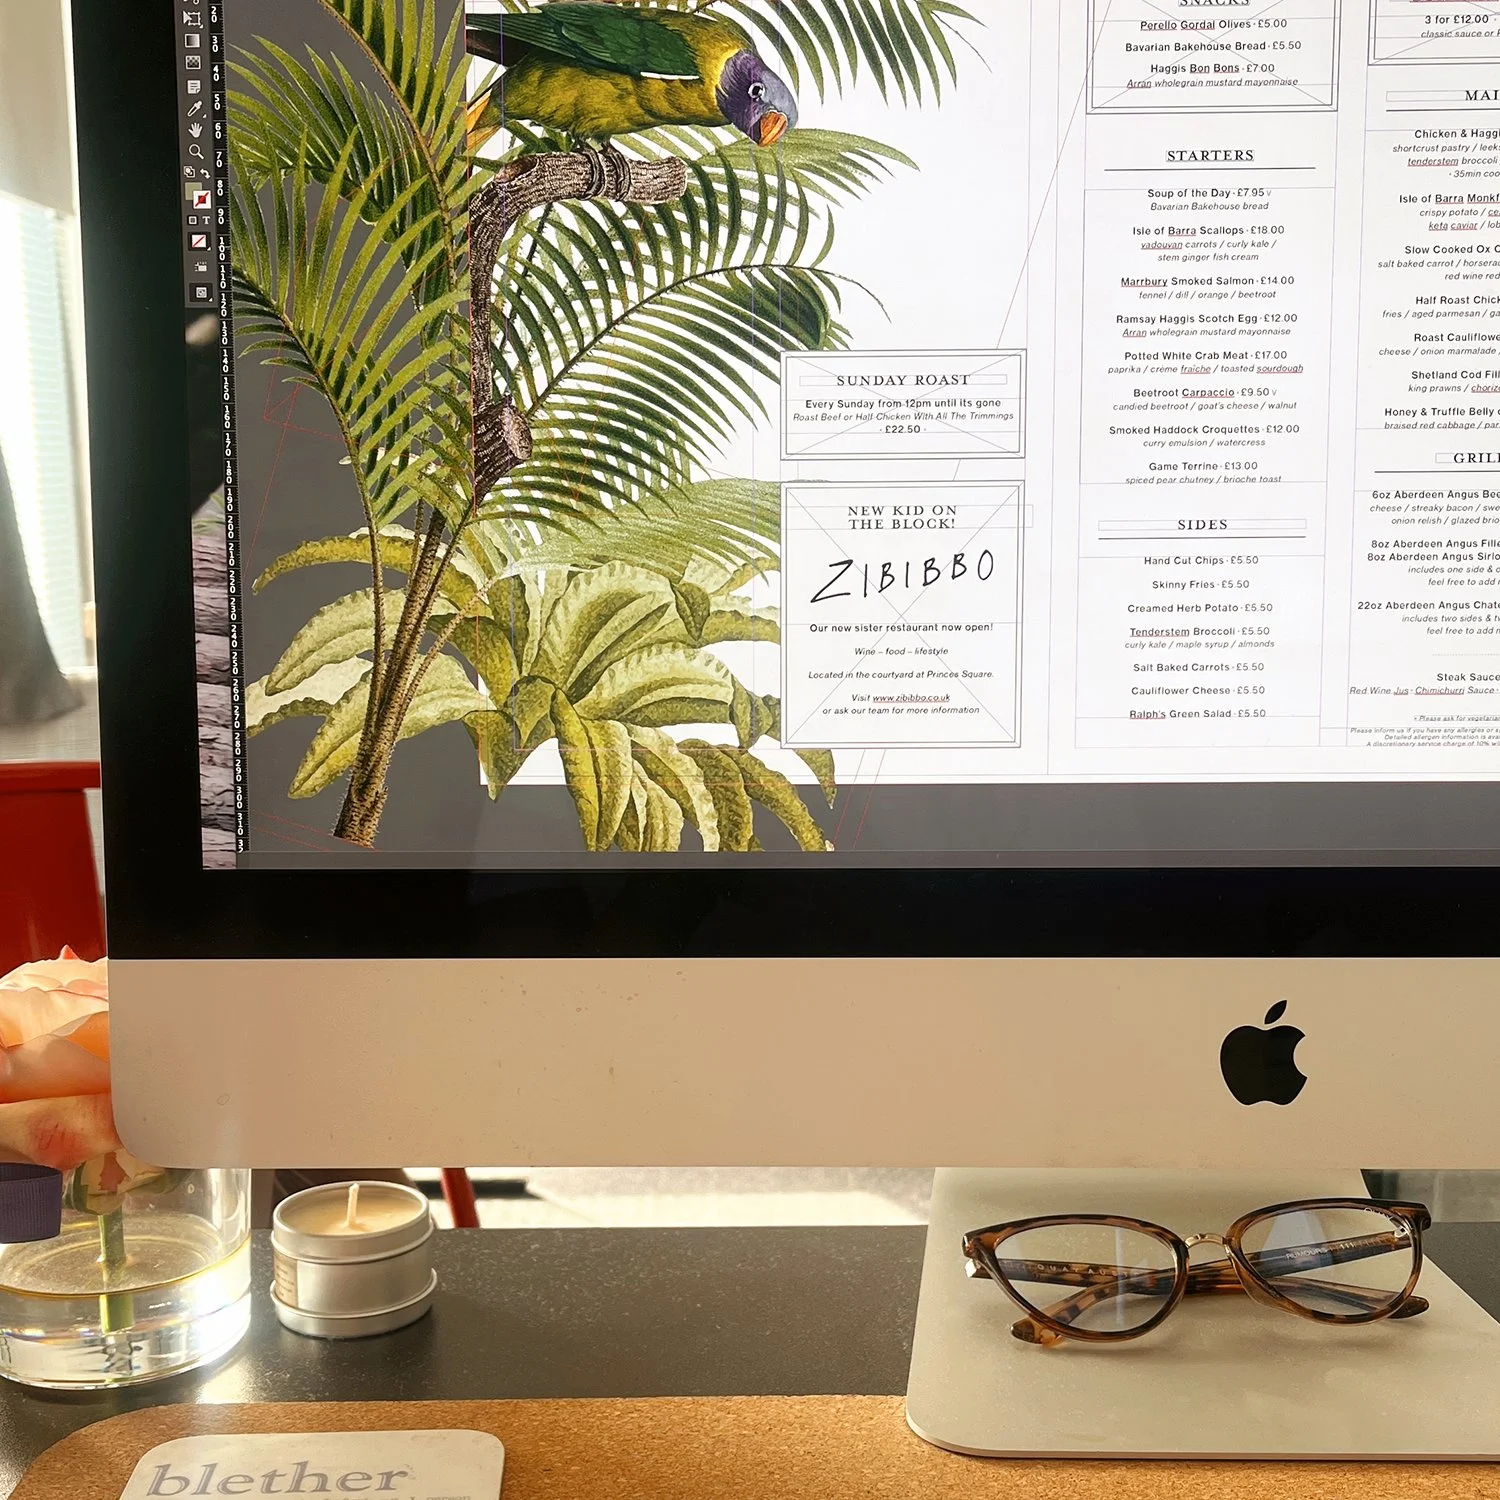
A digital or physical preview of your design before printing begins. It helps you catch any errors or colour issues early, avoiding costly mistakes.
-
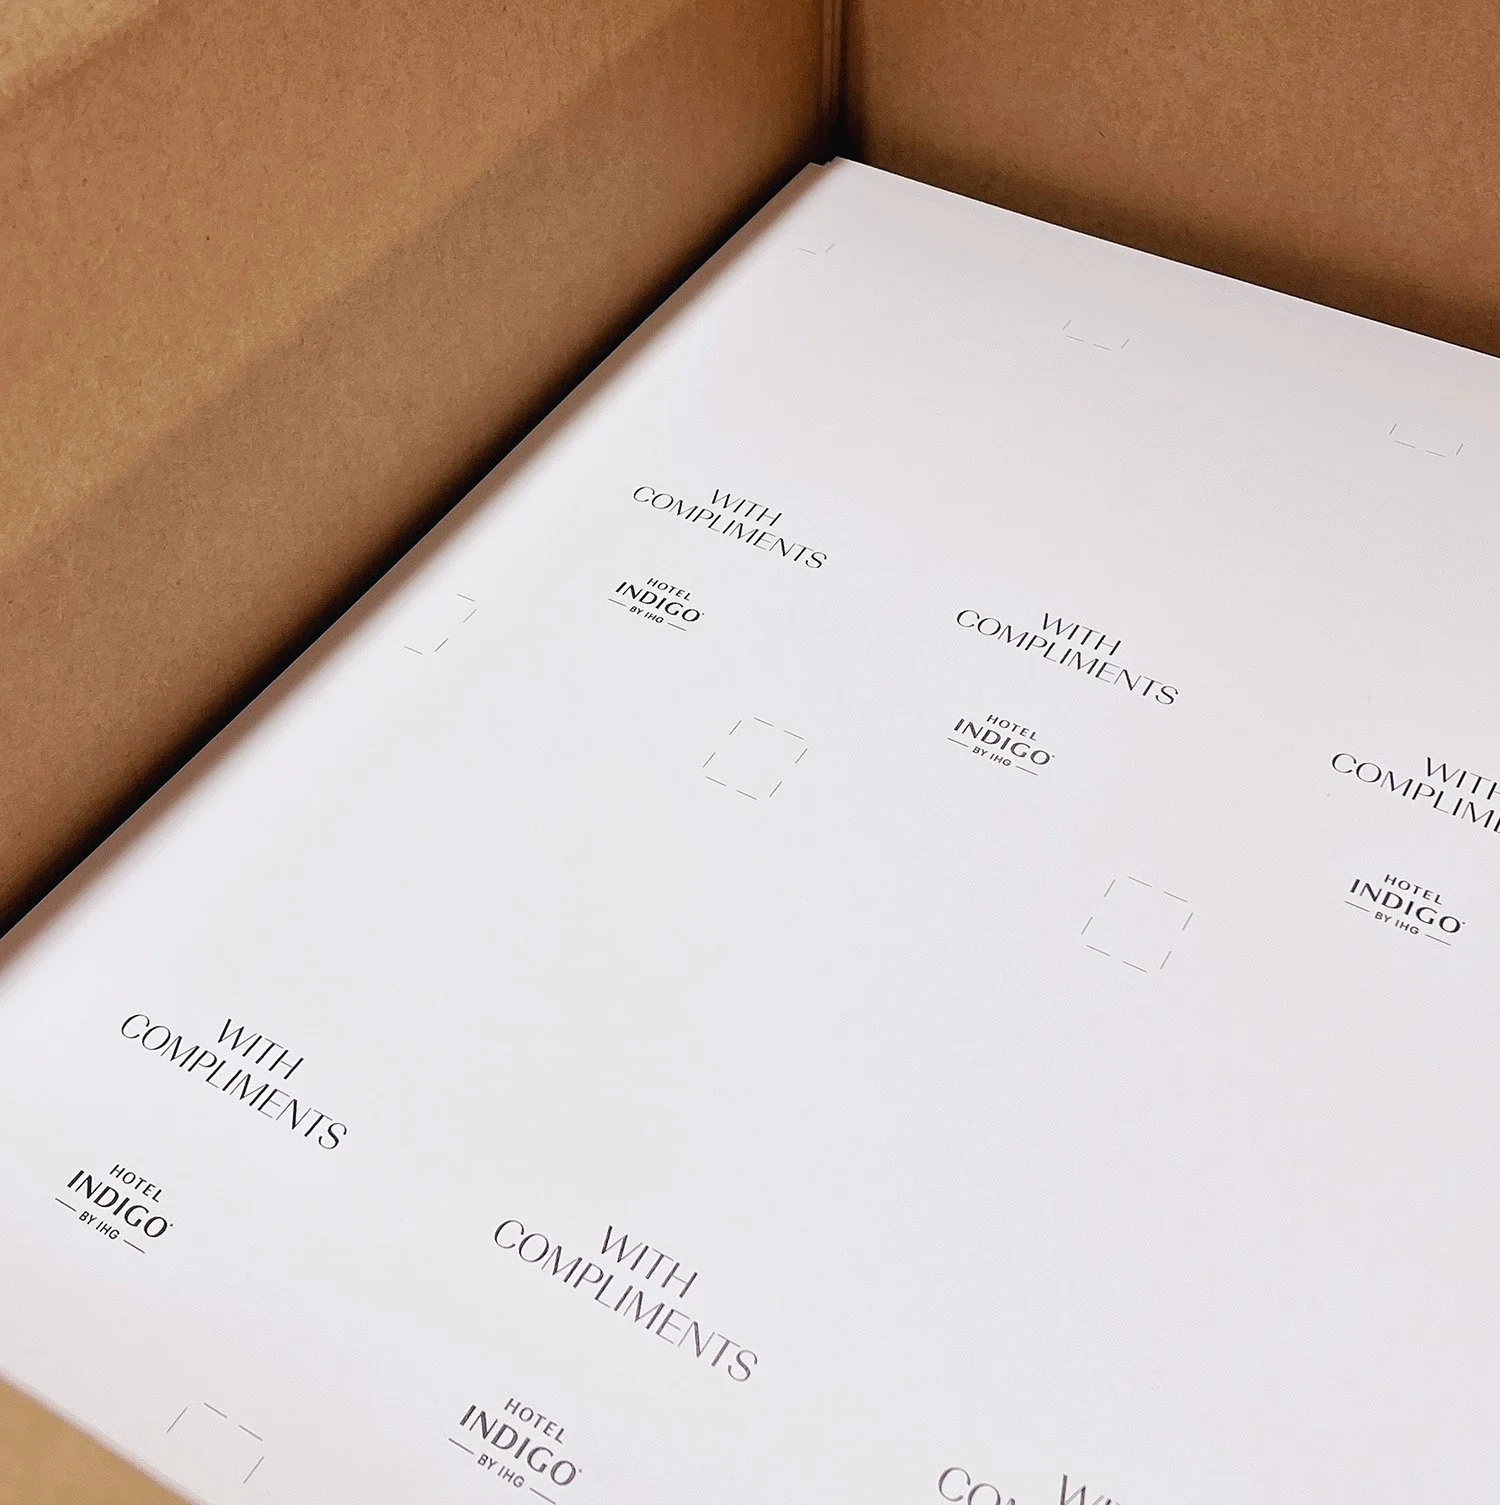
The extra area around your design (usually 3mm on each side) that ensures your artwork runs cleanly to the edge of the page when trimmed. Without bleed, you risk getting thin white borders around your design.
-
This is where the final cut is made. Anything beyond this line is removed, so your final product is trimmed to size. It’s the edge of your finished piece.
-
A buffer area inside the trim line (usually about 5mm) where important content like text or logos should stay within. This ensures nothing essential gets cut off during trimming, especially if there's any slight shift in production.
-
Small guide lines placed just outside the corners of your artwork that show us where to trim. They're vital for precise finishing and won’t appear on the final print.
-
Artwork Setup Guide
Quick guide to help you understand the essentials, along with guides that you can download.
-
FAQs
We’ve gathered some of the questions we’re asked most often about artwork, printing, turnaround times and delivery.
-

Contact
Got a project in mind or need a quick quote? Drop us a message - our team is always happy to help!